使用 LinkIt smart 7688 Duo 搭配 MCS gamepad channel 製作遙控戰車
前言
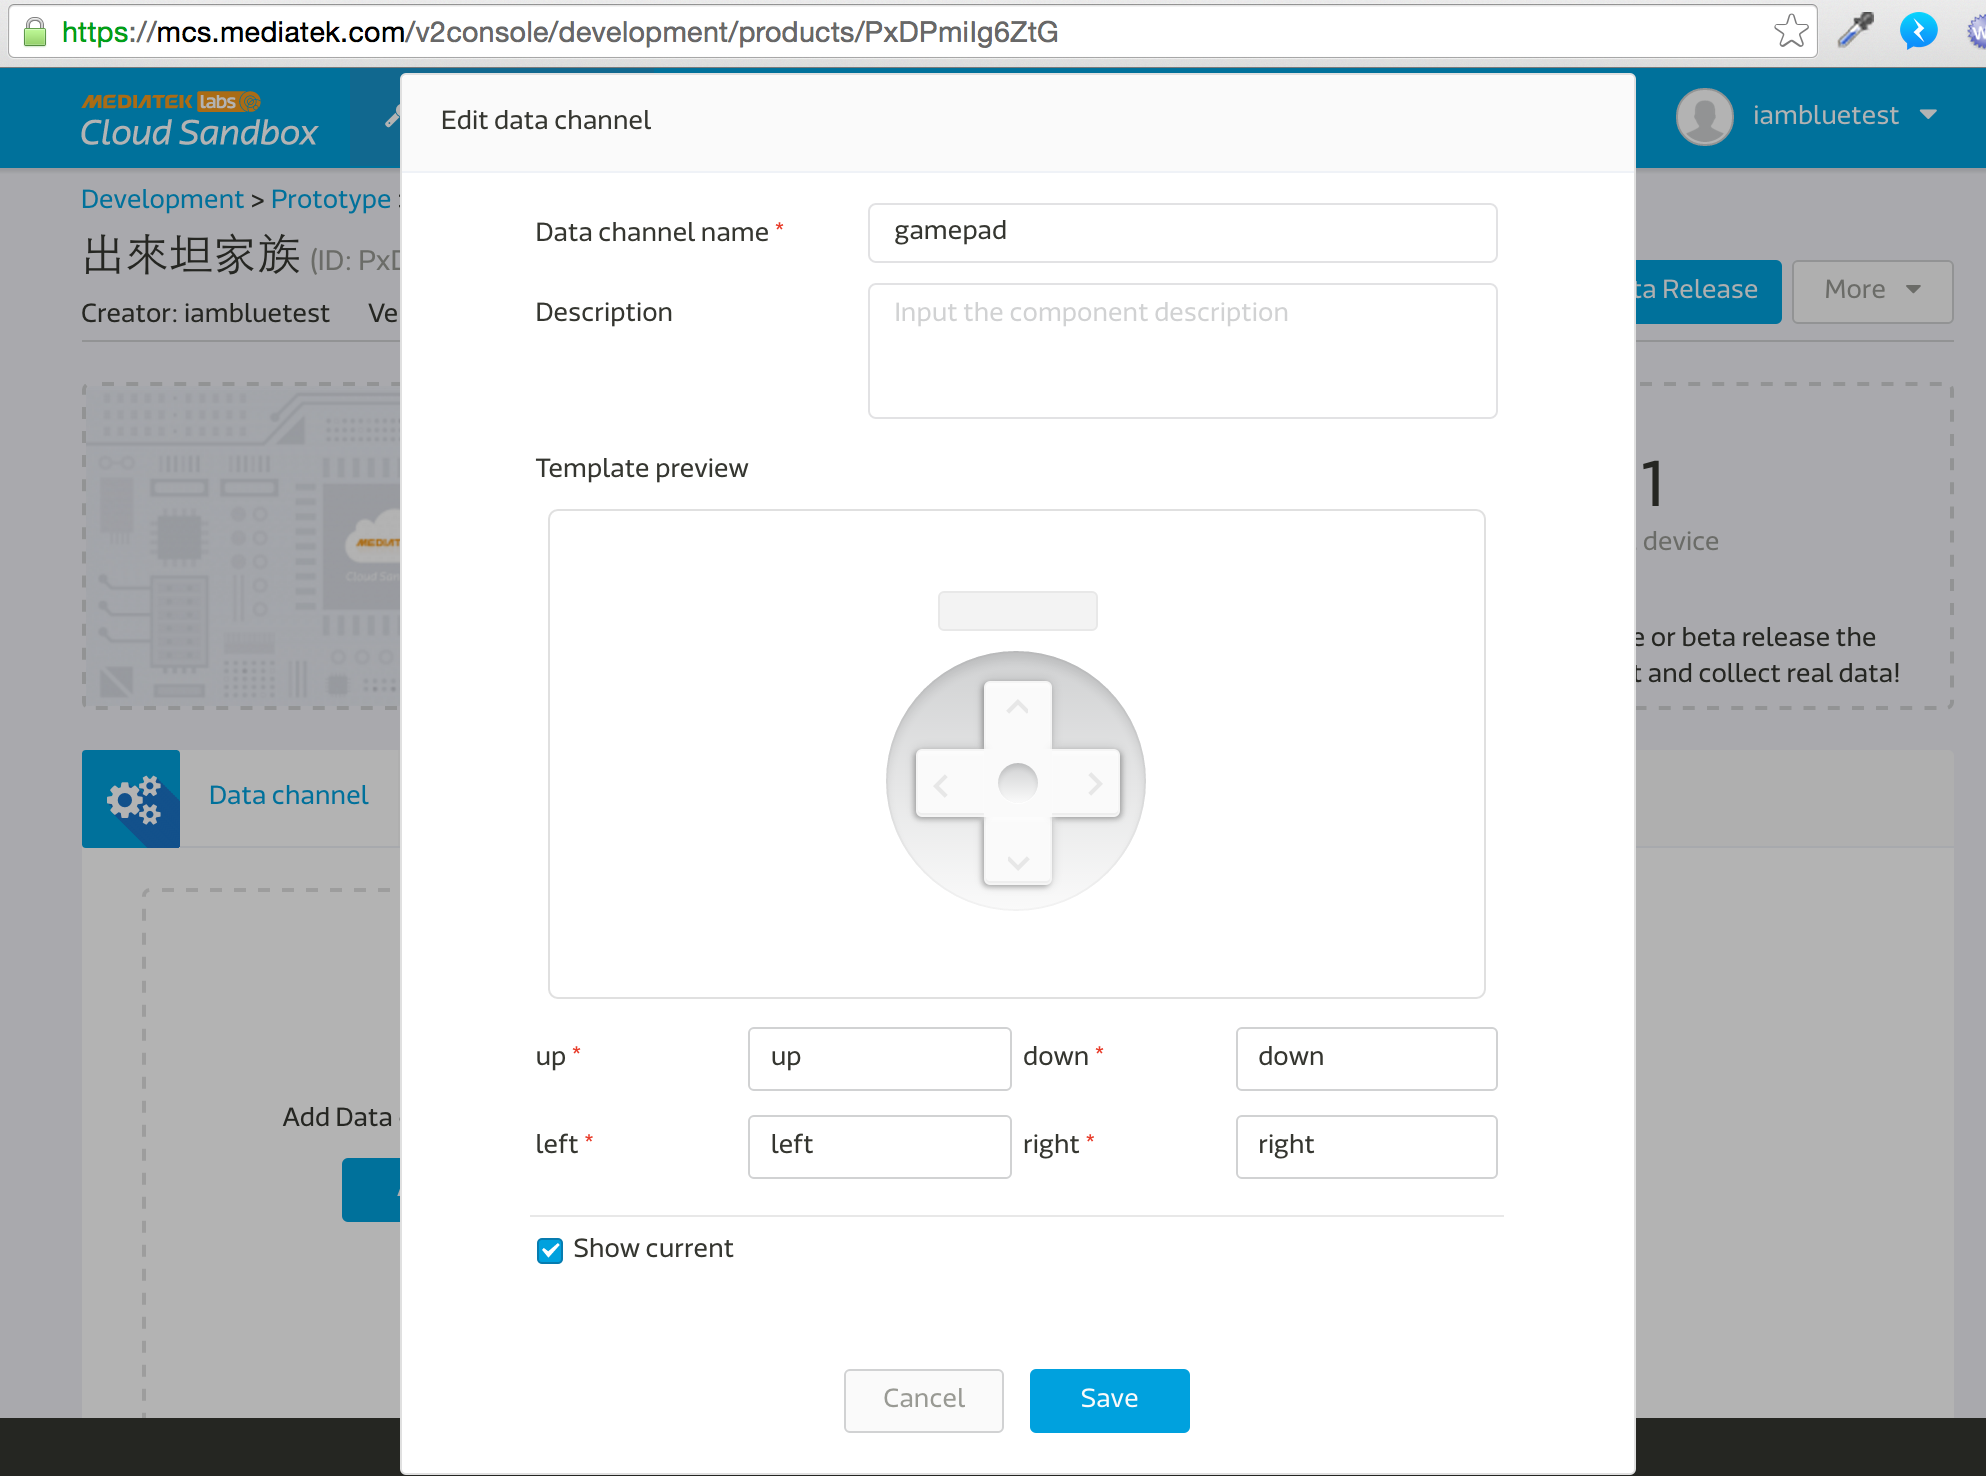
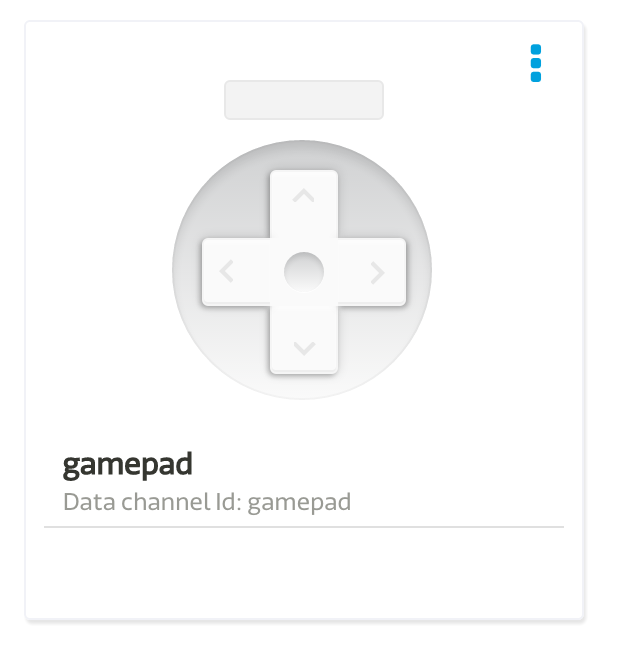
請先看 這個教學 在 MCS 中 create 好一個內容只有一個 gamepad (control type) 且 data channel ID 名為 gamepad 的 data channel 的 test device。
創建 data channel 的詳細設定資訊請參照此圖:
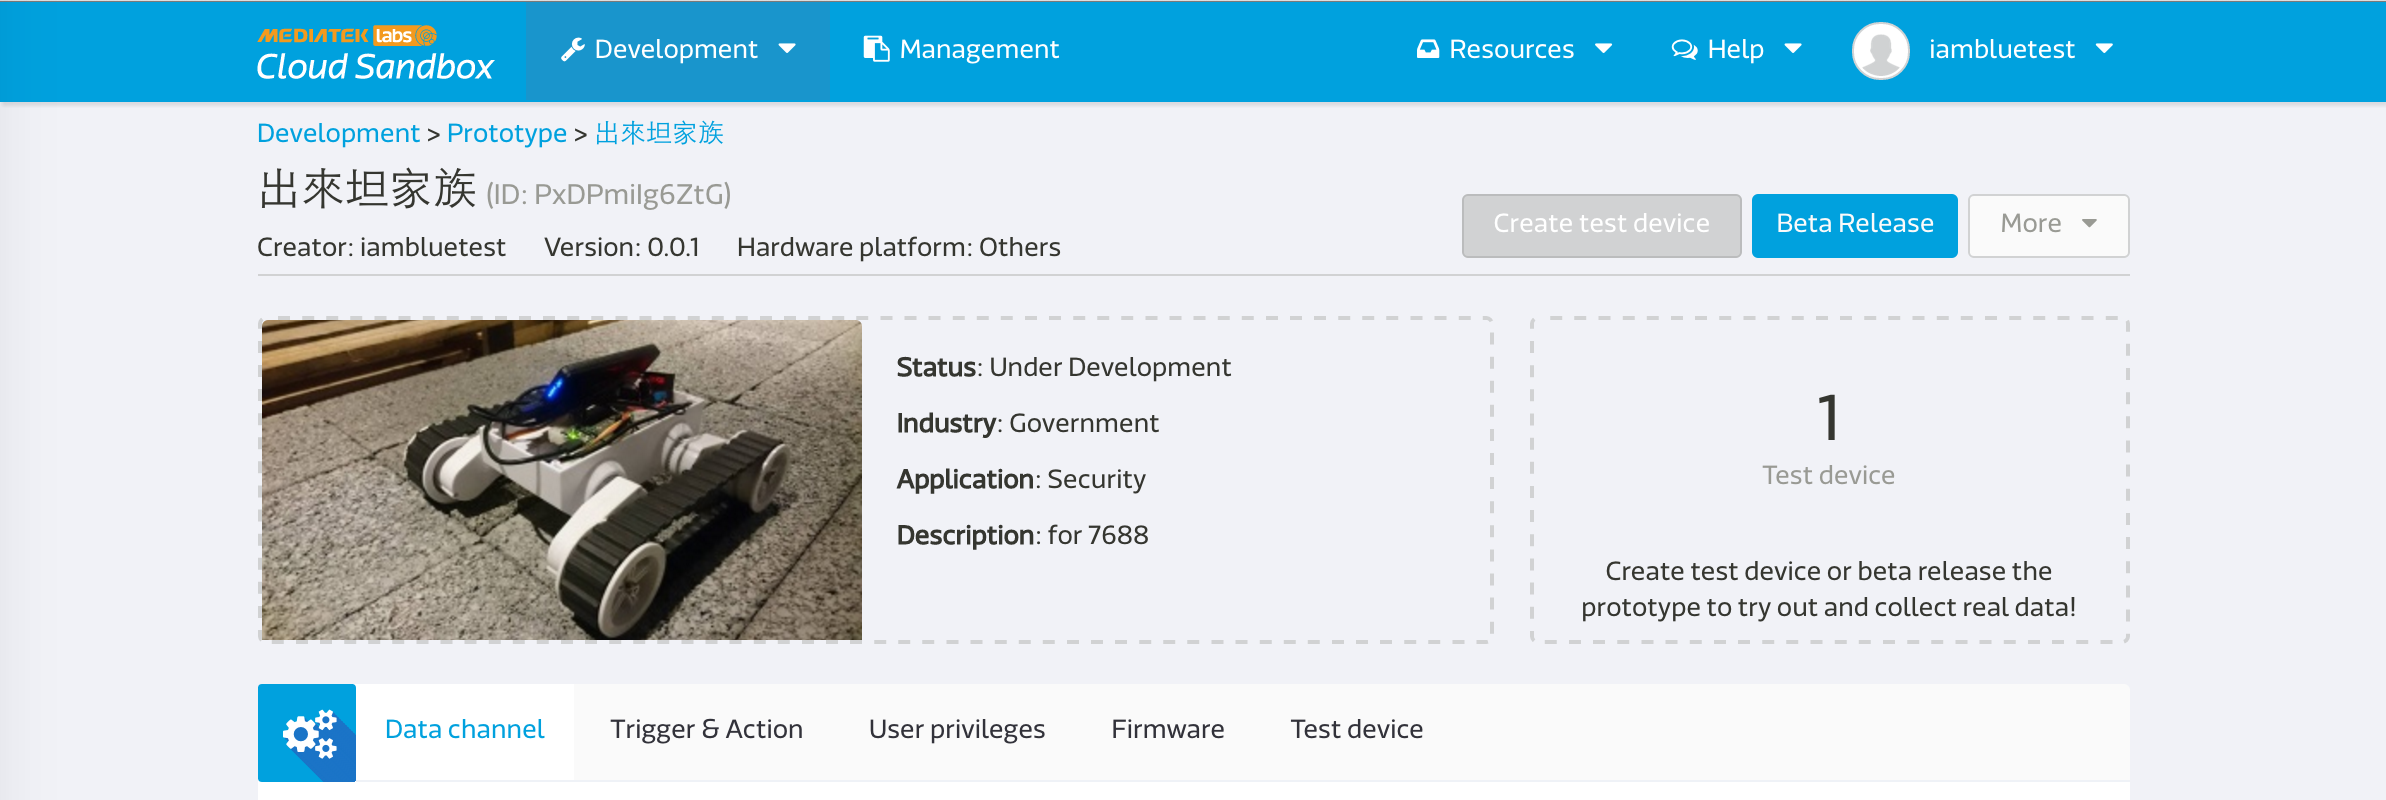
注意: 在 MCS 中 create 出 test device 後,會在該 device detail page 的畫面的右上方得到 deivceId 跟 deviceKey 即為下面步驟的 deviceId 跟 deviceKey。
準備器材
- L289N 馬達驅動版
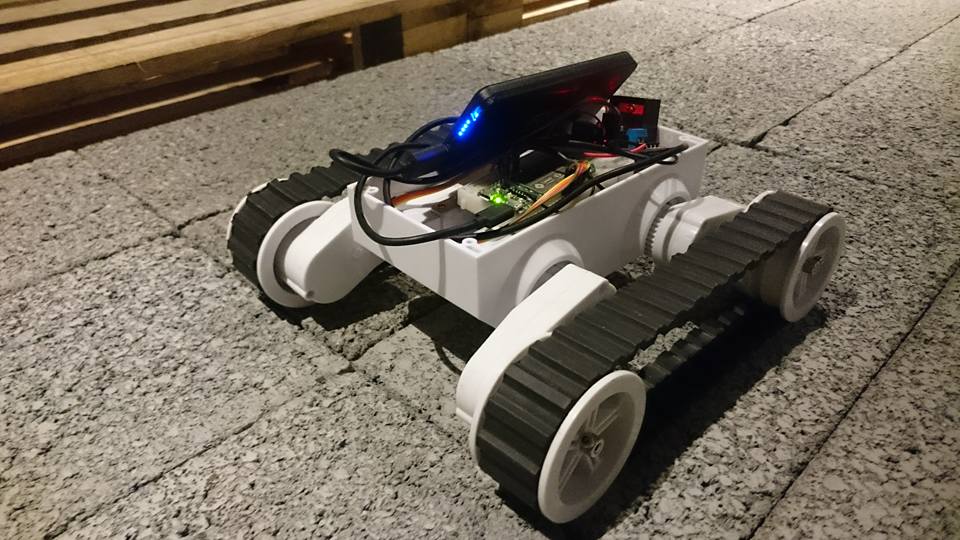
- 戰車一台:http://goods.ruten.com.tw/item/show?21438261771967
架構
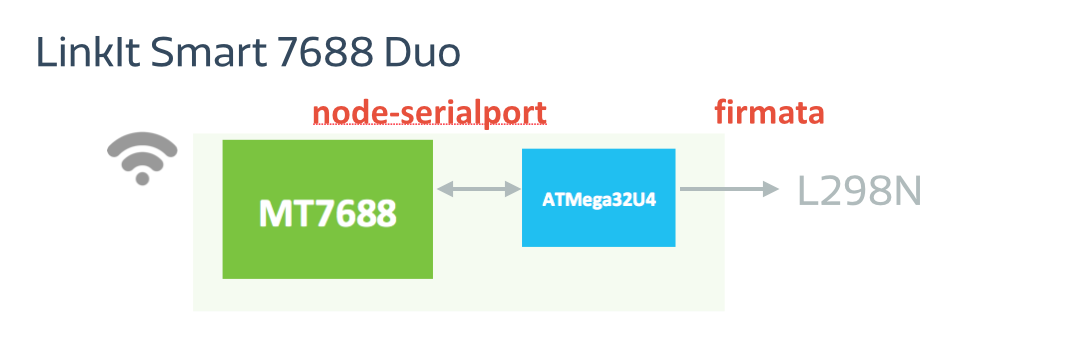
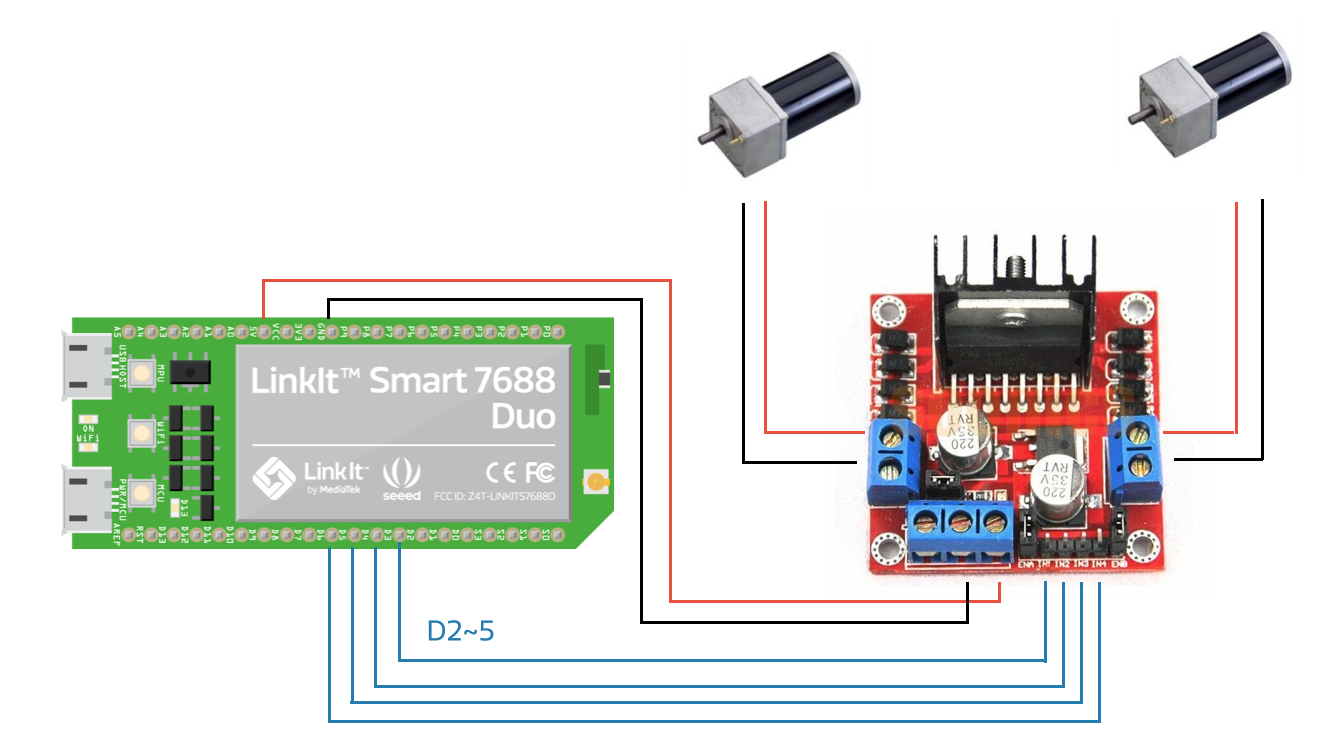
L298N 跟的四根 pin 腳分別接上 Linkit smart 7688 Duo 的 D2,D3,D4,D5 。
MCU (ATMega32U4) 端步驟
- 開啟 Arduino IDE。
- Tools -> board 選擇 Linkit smart 7688。
- Port -> 選擇有 Linkit smart 7688 port 的。
- 燒錄這段 code: https://gist.github.com/iamblue/c71727f6cba953fcfd70
MPU (MT7688) 端步驟
- 確定跟你的 linkit smart 7688 連線
- ssh 進去
- 創建一個資料夾並進去:
mkdir app && cd app && npm init - 安裝 MCSjs modules:
npm install mcsjs - 編輯 app.js:
vim app.js 以下可以選擇使用 MCS TCP command server 或者是 MQTT 來傳輸 (請擇一)。
使用 MCS TCP command server 的程式碼:
      var mcs = require('mcsjs');

      // regist your device to mcs.
      var myApp = mcs.register({
          deviceId: 'Input your deviceId',   // Input your deviceId.
          deviceKey: 'Input your deviceKey', // Input your deviceKey.
          // host: 'api.mediatek.cn', //如果是中國 site 的人記得加這行.
      });

      var SerialPort = require("serialport").SerialPort;
      var serialPort = new SerialPort("/dev/ttyS0", {
          baudrate: 57600
      });

      // communicate with Arduino chip (32U4).
      serialPort.on("open", function () {
          // listen the mcs command.
          myApp.on('gamepad', function(data, time) { // gamepad is your datachannel.
              serialPort.write(data); // send message to Arduino chip.
          });
      });
使用 MCS MQTT server 的程式碼 :
var mcs = require('mcsjs'); // regist your device to mcs. var myApp = mcs.register({ deviceId: 'Input your deviceId', // Input your deviceId. deviceKey: 'Input your deviceKey', // Input your deviceKey. //host: 'api.mediatek.cn', // 如果是中國 site 的人記得加這行. mqttHost: 'mqtt.mcs.mediatek.com', // mqttHost: 'mqtt.mcs.mediatek.cn', //如果是中國 site 的人記得把上一行換成這行. method: 'mqtt', port: 1883, qos: 0, }); var SerialPort = require("serialport").SerialPort; var serialPort = new SerialPort("/dev/ttyS0", { baudrate: 57600 }); // communicate with Arduino chip (32U4). serialPort.on("open", function () { // listen the mcs command. myApp.on('gamepad', function(data, time) { // gamepad is your datachannel. serialPort.write(data); // send message to Arduino chip. }); });- 存檔成功後執行 node app (command line 視窗不能關閉)
- 這時候回到 MCS 畫面,按下這個 data channel 的 上下左右鍵或者是鍵盤的w,s,a,d。
- 就可以看到戰車在移動囉!